The rotor head is one of the most important components of your Syma S107G helicopter. It holds the top rotor blades and the fly bar which together lift and balance the helicopter. If your S107G doesn’t remain steady after take-off and either shoots off to one side or flies round in circles then you probably have an issue with the rotor head.
Fortunately the rotor head is an easy component to access and change. The whole assembly can be removed from the helicopter by just loosening 2 screws and lifting it from the mainshaft.

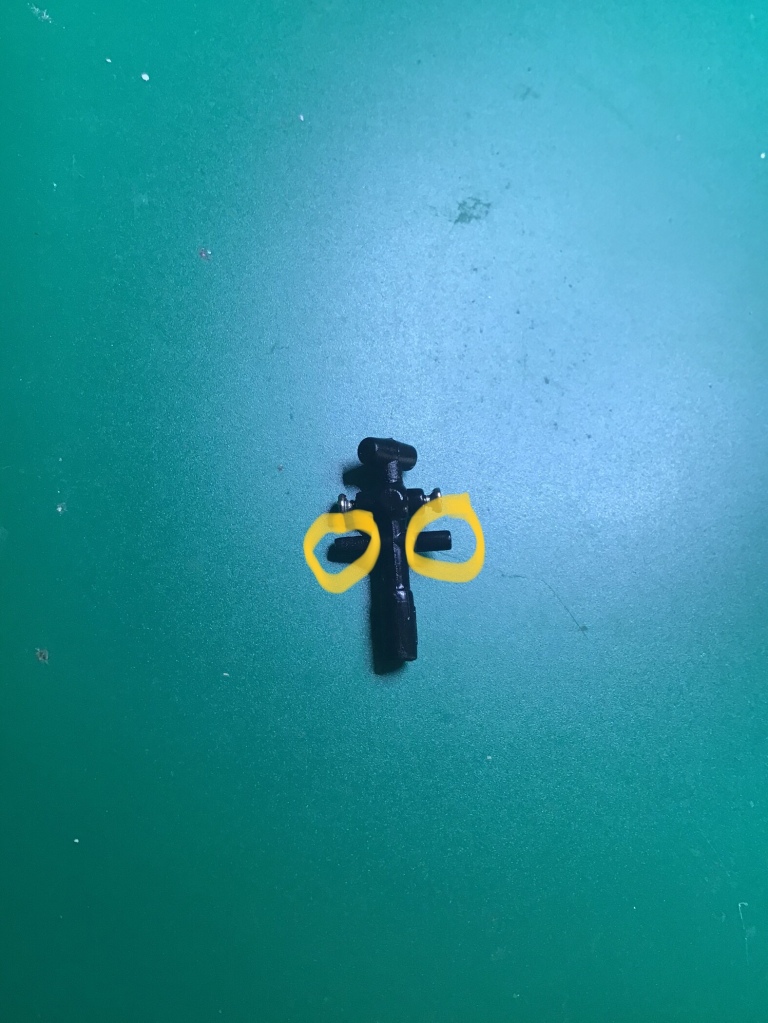
Once you have removed the assembly, pop off the 2 connect buckles which link the fly bar with the top rotor blades. A fingernail or pair of tweezers will pop these off easily.


The flybar can now be removed. Depending on the version this in held in place with a screw which can be undone, or a pin (pictured) which can be pushed out with the end of a paper clip or similar.

Once the flybar has been removed, the top rotor blades can be removed. Undo the 2 screws and remove the blades together with the lower blade holder which is the small component that the screws fix into.

Finally undo the 2 screws which hold the upper blade holders together and remove the upper blade holders from the rotor head. These 2 screws can be seen more clearly in the photograph above.

The rotor head can now be examined for damage. If either or both of the 2 pegs highlighted are missing or broken then the rotor head should be replaced. Broken pegs may be still stuck in the upper blade holders and will need to be removed before reassembly.
Reassemble the rotor head components in the reverse order of removal, checking that the rotor blades and flybar all move and pivot freely. When refitting the completed assembly back to the mainshaft, ensure that one of the 2 securing screws is in connected on to the flattened area of the shaft to prevent slippage.
